• Naprawa uszkodzonego separatora LCD Machine PR1000

Forumsregeln:Die Forumsregeln lesen

  1. Der Thementitel sollte die kurze Beschreibung des Problems enthalten
  2. Die Themenmeldung sollte die ausführliche Problembeschreibung und auch die Frage enthalten.
  3. Es ist nicht gestattet, Anhänge mit der vollständigen Dokumentation oder BIOS-Datei zu veröffentlichen oder auf Websites von Drittanbietern zu verlinken, die solche Dateien hosten. Es darf nur der kleine Teil der Dokumentation (bis zu einer Seite pro Beitrag) gepostet werden.
  4. Sie können pro Thema nur ein Problem beschreiben. Für jedes andere Problem sollten Sie ein neues Thema eröffnen.
  5. Es ist strengstens untersagt, nach Dokumentationen oder BIOS-Dateien zu fragen. Für solche Anfragen nutzen Sie bitte das DOKUMENTATION UND BIOS/EFI ANFRAGE Unterforum.
Dieses Thema ist als ARCHIV markiert. Antworten Sie nur, wenn Ihre Nachricht eine Lösung enthält (Allgemeine Geschäftsbedingungen, 12.1)

#1 Naprawa uszkodzonego separatora LCD Machine PR1000


von TripleH 28 August 2023, 15:04
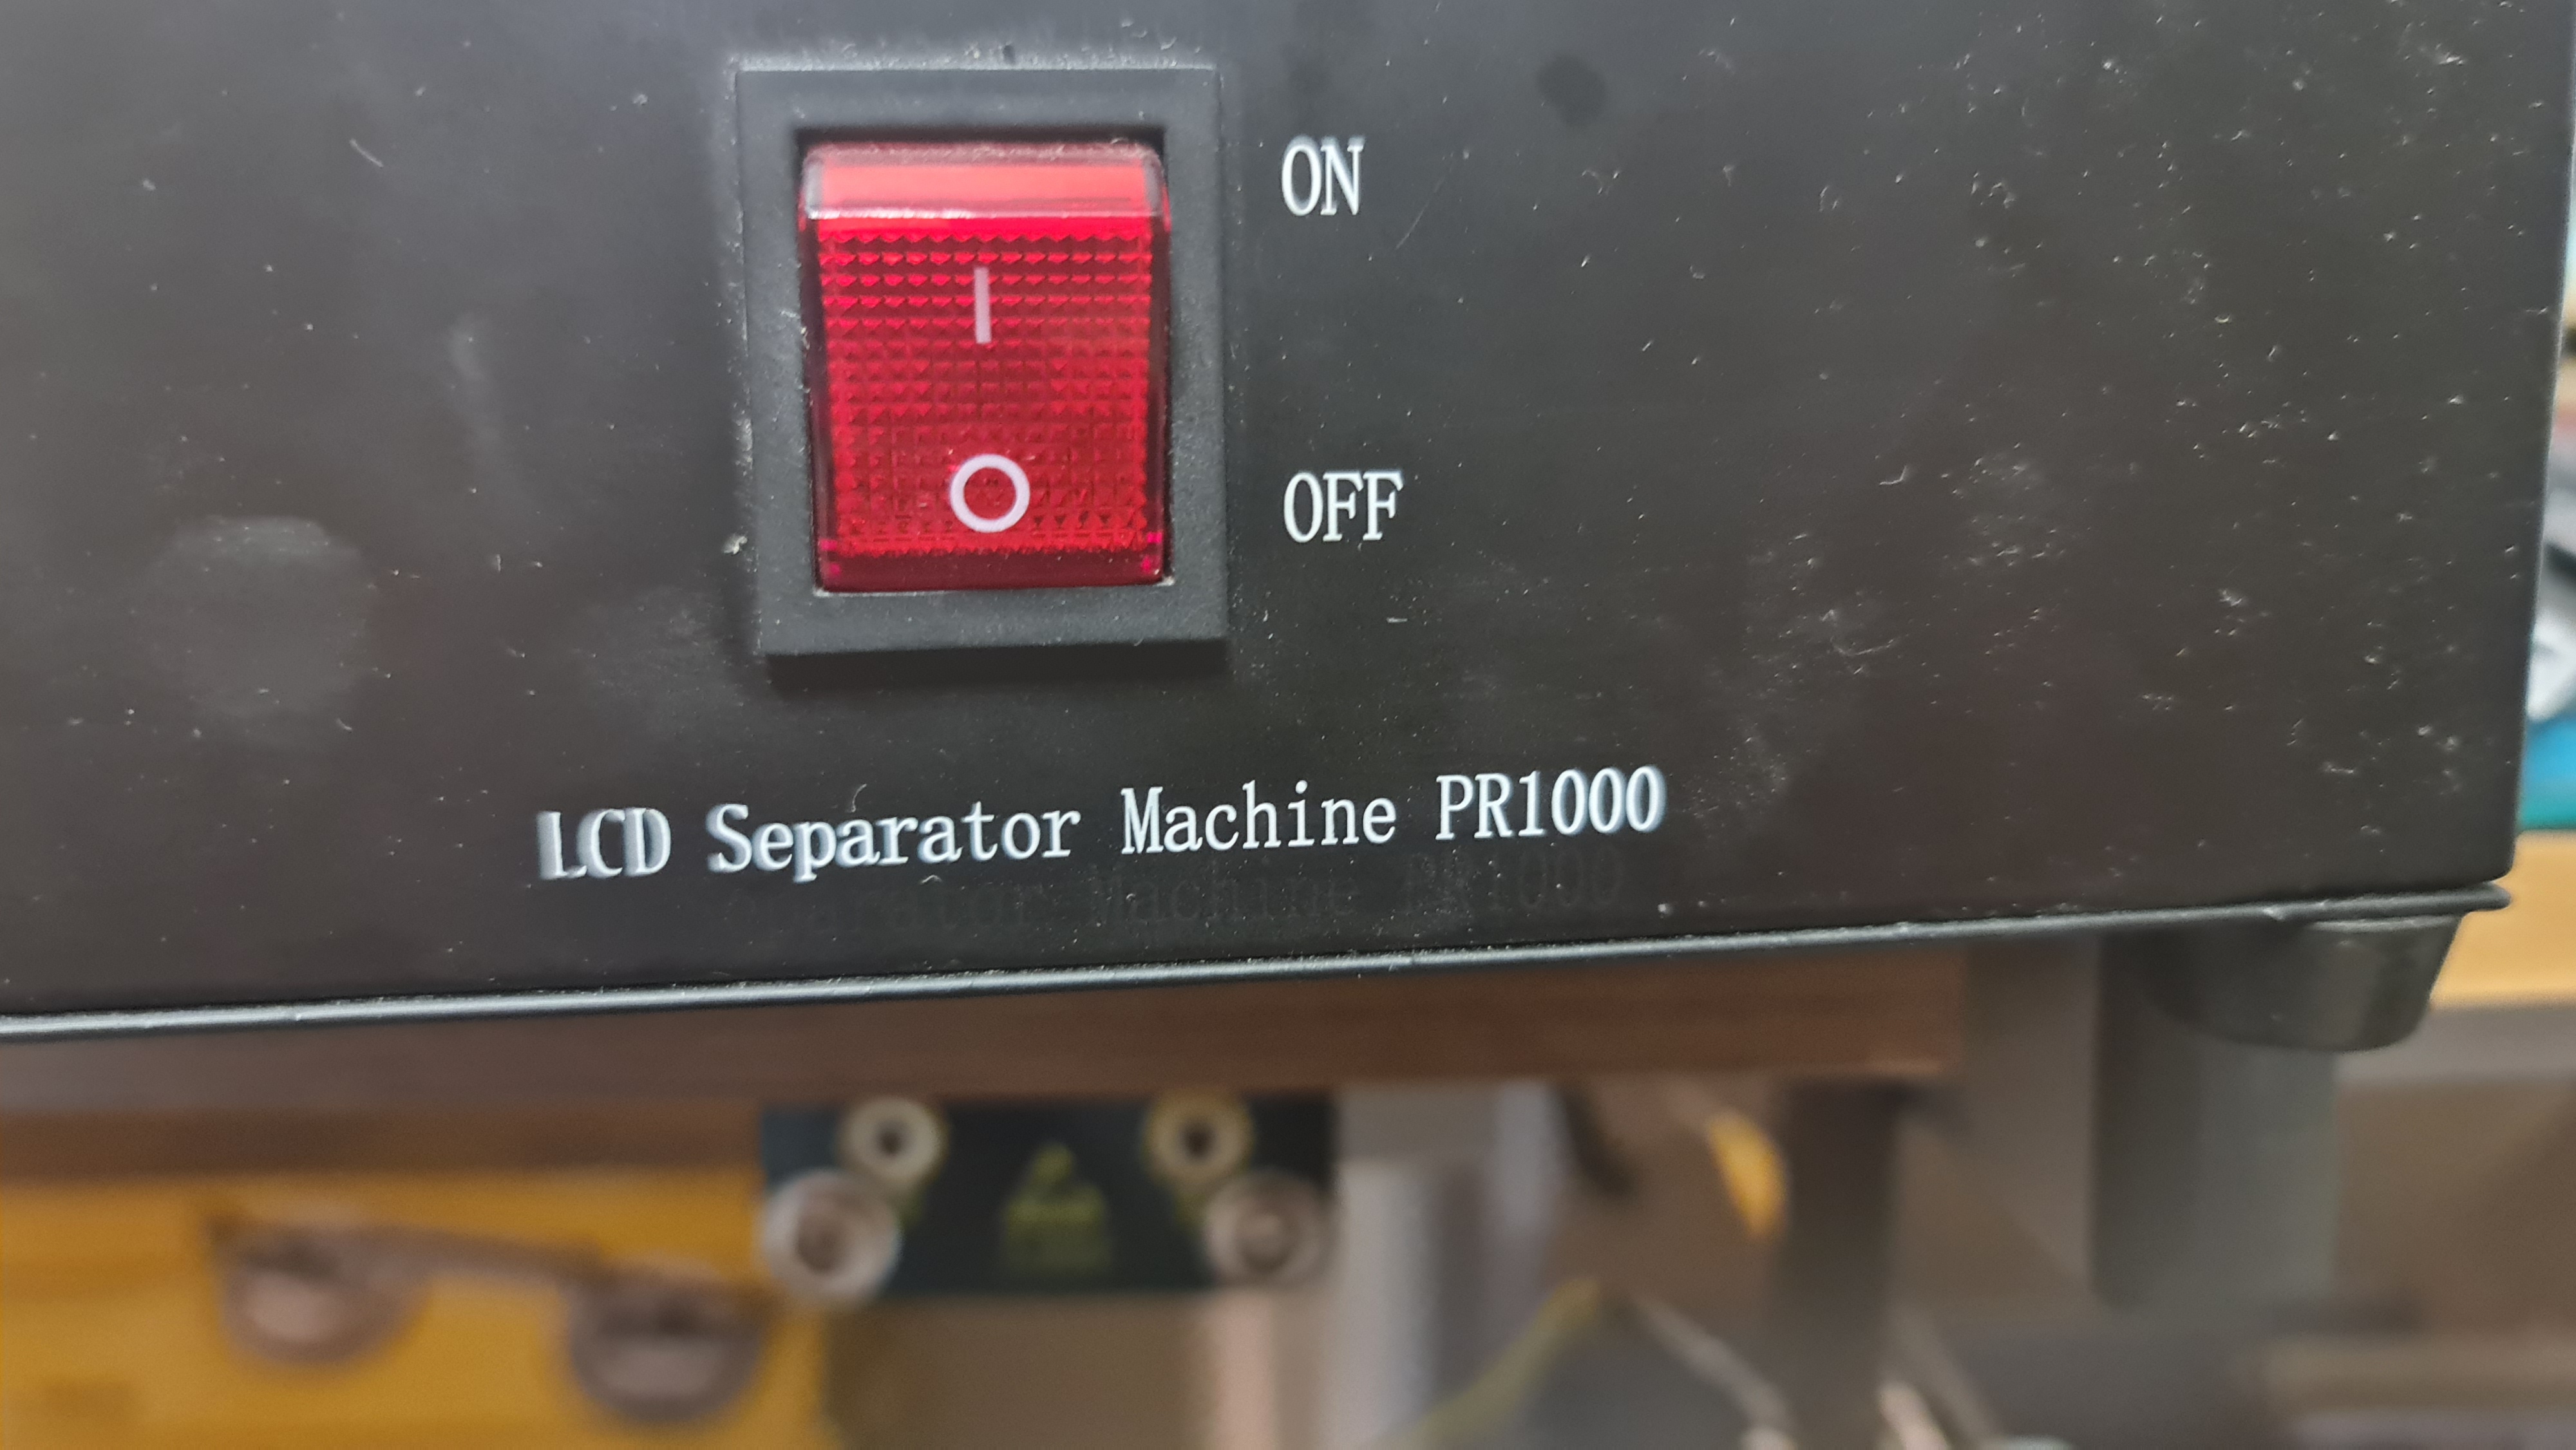
Koledzy proszę o pomoc w naprawie podgrzewacza jak w tytule. Służył mi wdzięcznie przez kilka lat i wyzionął ducha. Dosłownie bo pewnego dnia zaskwierczał i puścił dymka :D Sprzęt może nie najwyższych lotów, ale działał fajnie i do otwierania telefonów sprawdzał się w sam raz.
Spalił się przekaźnik załączający grzałki. Wymieniłem przekaźnik, diodę na cewce przekaźnika i tranzystor sterujący.
Na chwilę obecną sterownik jest w trybie alarmowym i nie pokazuje rzeczywistej temperatury, a jedynie zadaną.
Zmierzyłem rezystancję termopary - 3,5 ohm
Rezystancja grzałek 150ohm
Kontroler to HY16F88VB
Bild
Bild
Bild
Bild
Bild
Bild

Re: Naprawa uszkodzonego separatora LCD Machine PR1000


von Google Adsense [BOT] 28 August 2023, 15:04

#2 Re: Naprawa uszkodzonego separatora LCD Machine PR1000


von patol 28 August 2023, 16:47
Sprawdź okolice D11, R11 wygladają na odbarwione.

#3 Re: Naprawa uszkodzonego separatora LCD Machine PR1000


von matic 28 August 2023, 21:25
TripleH hat geschrieben:Wymieniłem przekaźnik, diodę na cewce przekaźnika i tranzystor sterujący.
You have created a critical safety issue here.
Note that the central pin of the relay is at high potencial - it's connected to the mains AC power (230V) while the diode D5 near it is at the low voltage (user accessible) secondary side. The clearance between the diode and relays central pin is too short - a spark can jump here and damage the controller and most important the user is also in danger, because the thermal couple and buttons are connected to the secondary side and are not insulated against high voltage.
Bild

#4 Re: Naprawa uszkodzonego separatora LCD Machine PR1000


von TripleH 29 August 2023, 00:43
patol hat geschrieben:Sprawdź okolice D11, R11 wygladają na odbarwione.

D11 i R11 oraz drobnica dookoła sprawdzona. Wszystko sprawne

matic hat geschrieben:
TripleH hat geschrieben:Wymieniłem przekaźnik, diodę na cewce przekaźnika i tranzystor sterujący.
You have created a critical safety issue here.
Note that the central pin of the relay is at high potencial - it's connected to the mains AC power (230V) while the diode D5 near it is at the low voltage (user accessible) secondary side. The clearance between the diode and relays central pin is too short - a spark can jump here and damage the controller and most important the user is also in danger, because the thermal couple and buttons are connected to the secondary side and are not insulated against high voltage.
[ Obrazek ]


Matic ofcourse you are right. I have corrected that and put a proper smd diode there.

#5 Re: Naprawa uszkodzonego separatora LCD Machine PR1000


von matic 29 August 2023, 09:01
TripleH hat geschrieben:Dosłownie bo pewnego dnia zaskwierczał i puścił dymka
Spalił się przekaźnik załączający grzałki.
What was the issue when this happened?
Did the PV (actual temperature) display work?

#6 Re: Naprawa uszkodzonego separatora LCD Machine PR1000


von TripleH 29 August 2023, 10:58
It worked just like usual. I set always 85 C and when i need it i switch heating switch on. One day i was working on a phone and heater was on. I heard sparkling noise and saw smoke coming from separator. I disconnected the power plug. I side i found burned relay. I checked both heaters. No short and no open line so i have replaced relay and damaged diode and transistor but it still dont work.
Controler is working i can set the temperature and sv display works fine. PV display is working, it shows moving circles and red alm diode is always On. I can hear no relay clicking and it doesnt heat up.
Picture of burned relay.
Bild
Bild

#7 Re: Naprawa uszkodzonego separatora LCD Machine PR1000


von Vogelek23 29 August 2023, 12:08
Proszę przede wszystkim usunąć tego "wąsa" z cyny, zaznaczonego na żółto - tak nie lutujemy, inspekcja wizualna jest bardzo istotną częścią diagnostyki. Po drugie, proszę zmierzyć napięcia względem "zimnej" masy (zaznaczona na czarno) w punktach, zaznaczonych na czerwono. Proszę także zmierzyć, w obu kierunkach, spadek napięcia na diodach D6, D7, D8 i D9 - te pomiary przy całkowicie odłączonym zasilaniu i odczekaniu około 1 minuty na rozładowanie się pojemności.
Bild

#8 Re: Naprawa uszkodzonego separatora LCD Machine PR1000


von TripleH 30 August 2023, 11:07
Wąs z cyny usunięty. Gwoli ścisłości to jakość fabryczna, ale nie zmienia to faktu, że powinienem zauważyć, także dziękuję :-)
Pomiar spadku napięcia diód.
D6- 0.46v 0.79v
D7- 0.48v OL
D8- 0.43v 0.55v
D9- 0.43v 0.57v
Pomiar napięcia na zdjęciu.
Bild

#9 Re: Naprawa uszkodzonego separatora LCD Machine PR1000


von matic 2 September 2023, 19:25
Measure the voltages to ground on all 13 pins of the display cable marked in the picture.
Pin 1= GND
Bild

#10 Re: Naprawa uszkodzonego separatora LCD Machine PR1000


von TripleH 5 September 2023, 12:20
1- GND
2- 5v
3- 0v
4- 0v
5- 4.4v
6- 4.6v
7- 4.2v
8- 3.2v - 4.6v jumping
9- 2.6v - 4.0v jumping
10- 2.8v - 4.2v jumping
11- 4.2v
12- 2.8v -4.2v jumping
13- 5v
Display shows moving circles thats why i think voltage is jumping.

#11 Re: Naprawa uszkodzonego separatora LCD Machine PR1000


von matic 9 September 2023, 12:54
Set your multimeter to the diode test mode and measure the voltage drops to ground on all these 13 pins with the positive (red) probe connected to the ground.

#12 Re: Naprawa uszkodzonego separatora LCD Machine PR1000


von TripleH 12 September 2023, 13:19
2-0,43
3- 0,55
4- 0,56
5- 0,64
6- 0,65
7- 0,65
8- 0,67
9- 0,68
10- 0,65
11- 0,65
12- 0,65
13- 0,65

Re: Naprawa uszkodzonego separatora LCD Machine PR1000


von Google Adsense [BOT] 12 September 2023, 13:19
Dieses Thema ist als ARCHIV markiert. Antworten Sie nur, wenn Ihre Nachricht eine Lösung enthält (Allgemeine Geschäftsbedingungen, 12.1)

Wer ist online?

Mitglieder in diesem Forum: 0 Mitglieder und 0 Gäste

_______________________________
Alle Rechte vorbehalten. Das unerlaubte Kopieren des Inhalts dieser Website oder eines Teils davon ist strengstens untersagt.
Alle auf dieser Website veröffentlichten Marken, Markennamen, Produkte oder Dienstleistungen gehören ihren gesetzlichen Eigentümern, sind urheberrechtlich geschützt und werden nur zu Informationszwecken verwendet.